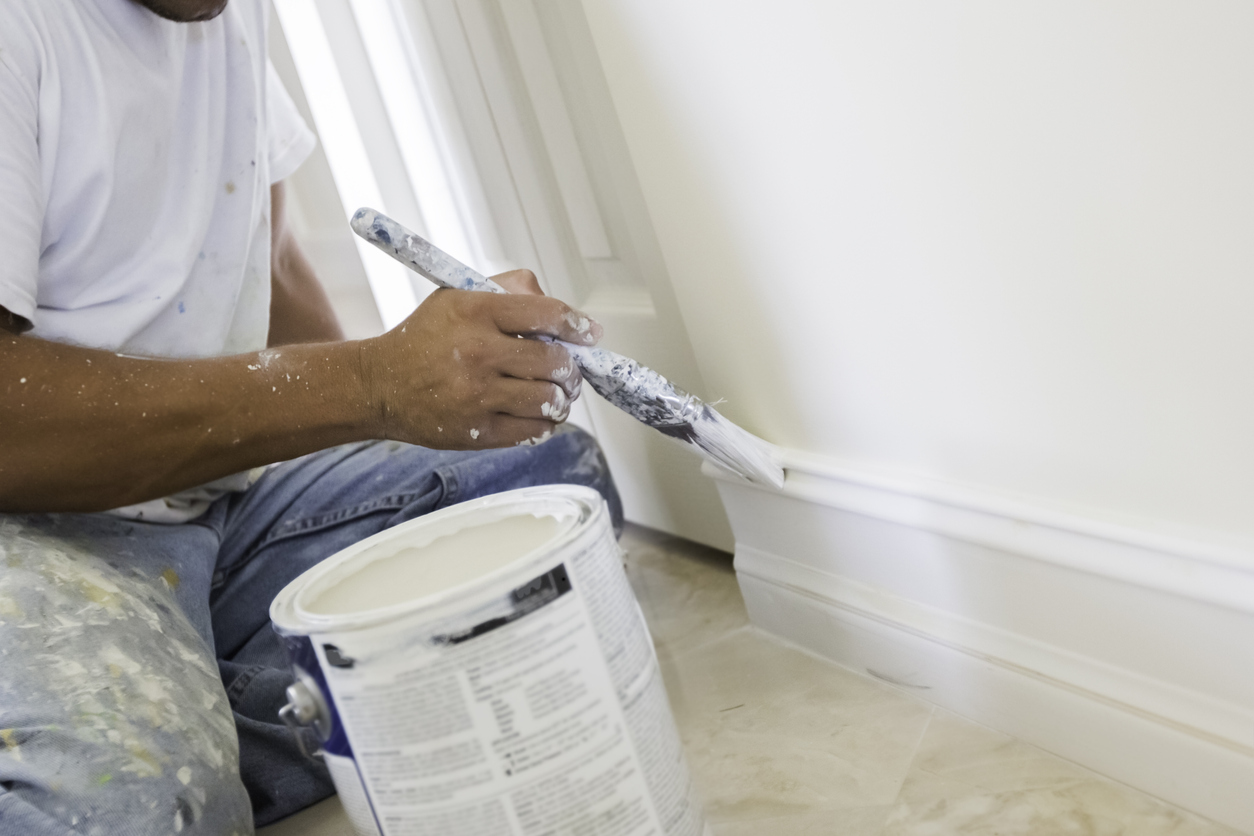
Drywall, or gypsum-board walls, are a sturdy material, but over time it can break down or could crack with the right hit. Thankfully, it’s easy to fill in ,or even replace, and is usually a cost-effective way to fix your walls up. While drywall is a common thing to use, there are a few things you need to do to make sure it lasts for a long time. Here are a few do’s and don’t to consider when you’re fixing up a few of those problem areas.
The Do's
- Wear proper protection. If inhaled, your lungs can become extremely damaged from the drywall compound. Also, consider wearing disposable gloves to avoid the dehydrating effects it can have on your hands.
- Fill in minor dents and scratches with a thin layer of joint compound, also known as drywall mud. They must be smaller than 1/2 inch across for the best result. This compound should be applied with a putty knife made for drywall itself. If the area is larger than 1/2 inch, a reinforced mesh is needed for stability and to avoid more damage.
- Neatness counts. Cut away any hanging debris from the damage with a sharp blade. This will prevent blemishes or bumps when everything is dry.
- You don’t need a huge amount to get the job done. Start with a thin coat and apply more later on. You’ll be sanding this down at the end. The thinner the layer the less sanding you’ll need to do.

The Don'ts

- Don’t go for quick patch kits. While they’ll cover the area, it won’t last nearly as long as the drywall compound. Use it for a temporary fix, but then go back and fix it properly.
- Be careful of electrical cords, piping, or anything else fed through the walls! If you’re not paying attention, you might accidentally hit a wire or slice it all together, causing more of a headache. This can be a bigger problem in older houses. If you have to enlarge the area only go about an inch deep with a drywall saw and cut horizontally.
- Don’t rush sanding. With 100 or 120 fine-grit sandpaper, take your time sanding down the area for a smooth finish. You’ll need to apply a second layer of compound, spreading it out 2 inches beyond the first layer.
- Just because it looks smooth does mean it is. Run your hand over the area to feel for any bumps or rough patches. If you do, keep sanding.


